This is one of my favorite cards. I love the tri-fold pattern which makes the card even more beautiful when it is opened, as well as these beautiful Close to my Heart papers, Creative Basics, Veranda Collection.
Most of the CTMH paper packets include several sheets and colors of solid card stock as well as 6 different designs of patterned paper - 2 of each
double sided design. It's a wonderful value.
But... the Creative Basics collection introduced with each catalog? Only 2 double sided designs, six sheets of each, and 4 yards of coordinating ribbon.
Perfect for card makers like me, it means more sheets of the designs I love!!
Here is the opened card. Isn't it gorgeous? I find these colors and patterns so beautiful, I don't think I could go wrong with them.

I first saw the pattern for this tri-fold shutter card when a friend posted a photo of her card using this pattern. I played around with some paper until I figured out the cuts and folds and used it for my Christmas Card (2009). Recently I had the opportunity to share the pattern with a stamp club I am a member of. It was so fun to see what everyone did with the same basic start. I'll be teaching this exact card this week in my Yoga Class. I am so excited!

This final view is the flower detail. I sponged the white paper flowers in the same colors of the papers (Juniper & Garden Green). I was a little stuck on what to do for the center of the flower because I was not at home - away from collections of stampin' & scrappin' do-dads. So I took a thin strip of solid Juniper card stock and wound it around a embossing stylus to make a tight swirl. I attached it to the center of the flower with Liquid Glass. I love how necessity stimulates creativeness!

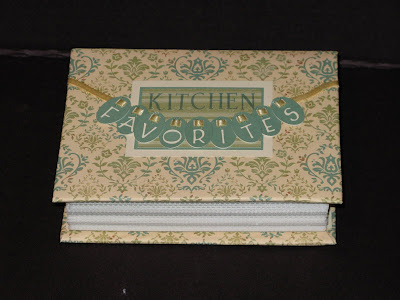
 Recipe holder includes pot holder & towels. Add some of your favorite recipes for a wedding shower gift.


 Recipe holder includes pot holder & towels. Add some of your favorite recipes for a wedding shower gift.


 I first saw the pattern for this tri-fold shutter card when a friend posted a photo of her card using this pattern. I played around with some paper until I figured out the cuts and folds and used it for my Christmas Card (2009). Recently I had the opportunity to share the pattern with a stamp club I am a member of. It was so fun to see what everyone did with the same basic start. I'll be teaching this exact card this week in my Yoga Class. I am so excited!

