I've had the stamps and thin cuts to make a spinner card for nearly a year now and I just got around to playing with them. I have to say I am sorry I waited so long because these are fun!
I'm sharing four photos because there are in essence, four sentiments on one card. That's the beauty of spinner cards. Aside from they are just fun to make and to receive!
Close To My Heart has several stamp sets that are designed for the spinner, but to be honest, you can use any sentiment that fits in the window. You can even write your own, making the possibilities endless!
The Card Front Spinner Thin Cuts come with instructions and is easy to use, but here are two tips that my crafters found helpful.
1. The easiest tip first.
Use thin 3-D foam tape
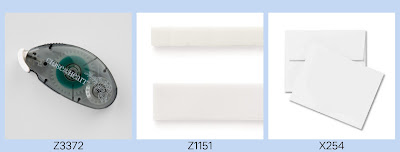
When assembling this card you will put foam tape on both sides of the spinner parts to 1) raise it above the head of the brad, and 2) to give the disc room to spin. I encourage you to use our CTMH Thin Foam Tape. Since you will have two layers of foam tape overlapping each other you want to keep your card from getting too thick. And then when you assemble the front and spinner to the card base, use a square of regular (thick) foam tape in each corner.
2. The second tip is regarding the marks on the die cuts and how to use them.
Pierce the marks
I didn't figure out this tip until after my class and watching my crafters struggle to see the little "dashes" they were looking for. It was challenging!
These are the pieces you will cut with the Card Front Spinner dies (plus one more small circle). The large ruffly circle is the one we are going to focus on.
If you look very very very closely you will see that the die left two dashed circles on this piece, one near the outer edge of the circle (it travels under my thumb) and one about 3/4 inch in from it. These mark the space that you will stamp your sentiments. There are more marks designed to help you evenly space your sentiments, three per disc. They are little dash marks just inside the inner circle and perpendicular to it, like a "T." I've marked them with the red arrows. Don't feel bad if you can't see them. My crafters had a hard time finding them with the discs in their own hands. I did too, to be honest.
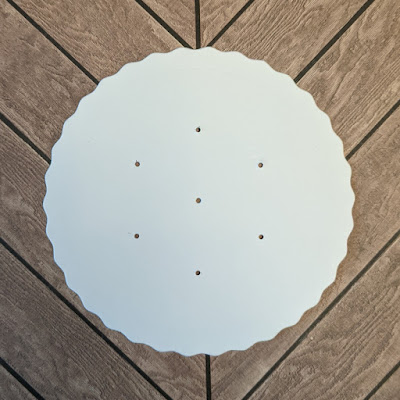
Now here is my expert tip for you. The very first time you make this card cut a second large circle. Then using very good lighting, find those six little dash marks inside the inner circle and mark them with a pencil. Next, take your piercing tool and poke a hole through each pencil mark. Line this up with the disc you will be using for your card and make a pencil mark through each pierced hole onto the other disc and then continue with the cardmaking instructions. That's it! Be sure to put your pierced disc in with your Card Front Spinner dies so you will have it to use from now on.


No comments:
Post a Comment