Friday, July 16, 2021

Wander Shaker Card Samples

Just a quick post today to share the awesomeness of the shaker version of the Close To My Heart Wander cards from the Wander Cardmaking Kit.  How can you even resist these?  


The kit does not include supplies or directions to make the cards into shakers. I wish I had thought of this idea but it was shared with me by another CTMH Maker, Andrea Mahaffey. 

If you would like to make these along with me (in my virtual live class online) all the information is in my previous blog post, here, for convenience. 

I hope you will join me!

Thursday, July 8, 2021

Close To My Heart Wander Cardmaking Workshop


These four great cards are from the new Close To My Heart Wander Cardmaking Kit,. The kit includes all the paper supplies, stamps, and die cuts for 16 cards, (four of each design).

Here's my video of the kit.  I'm just getting started with my YouTube channel so please bare with me as I improve. 

Purchase your kit and join me online for prep and assembly. My prep video will be posted prior to the workshop date. If you are unable to join me via Facebook Live, the video will remain online in Betsy’s Paper Craft Room and also posted to my YouTube account afterwards.

BONUS! When you purchase the kit I will send you supplies to make two of the cards into shaker cards. These cards are definitely shaker candidates and you will love the upgrade!

Purchase your kit here.
I recommend prior to July 19th or sooner: https://bit.ly/3qYvtod

Other supplies you will need, either from your own stash or purchase with the kit:
*Glacier Exclusive Inks Stamp Pad (Z2841)
*Sapphire Exclusive Inks Stamp Pad (Z2848)
*Sundance Exclusive Inks Stamp Pad (Z6521)
*Round Sponge (or other sponging tool) (Z697)
*Thin 3-D Foam Tape (Z2060)

If you think you would like to make more than two shakers, you may want to purchase shaker supplies:
*Circle Shaker Foam & Acetate (Z4310)

Saturday, June 26, 2021

Flying By With Some Artwork and Tips

I've had the stamps and thin cuts to make a spinner card for nearly a year now and I just got around to playing with them. I have to say I am sorry I waited so long because these are fun

I'm sharing four photos because there are in essence, four sentiments on one card. That's the beauty of spinner cards. Aside from they are just fun to make and to receive!


Close To My Heart has several stamp sets that are designed for the spinner, but to be honest, you can use any sentiment that fits in the window.  You can even write your own, making the possibilities endless! 

The Card Front Spinner Thin Cuts come with instructions and is easy to use, but here are two tips that my crafters found helpful. 

1. The easiest tip first. 

Use thin 3-D foam tape 

When assembling this card you will put foam tape on both sides of the spinner parts to 1) raise it above the head of the brad, and 2) to give the disc room to spin. I encourage you to use our CTMH Thin Foam Tape. Since you will have two layers of foam tape overlapping each other you want to keep your card from getting too thick.  And then when you assemble the front and spinner to the card base, use a square of regular (thick) foam tape in each corner.

2. The second tip is regarding the marks on the die cuts and how to use them.

Pierce the marks

I didn't figure out this tip until after my class and watching my crafters struggle to see the little "dashes" they were looking for.  It was challenging! 

These are the pieces you will cut with the Card Front Spinner dies (plus one more small circle). The large ruffly circle is the one we are going to focus on. 


If you look very very very closely you will see that the die left two dashed circles on this piece, one near the outer edge of the circle (it travels under my thumb) and one about 3/4 inch in from it.  These mark the space that you will stamp your sentiments. There are more marks designed to help you evenly space your sentiments, three per disc. They are little dash marks just inside the inner circle and perpendicular to it, like a "T."  I've marked them with the red arrows. Don't feel bad if you can't see them. My crafters had a hard time finding them with the discs in their own hands. I did too, to be honest. 


When you find the little perpendicular dashes you are to mark the disc into pie shapes using them as a guide. You stamp in every other pie shape and then erase the lines.  I also added a little pencil mark in the center of the three pie shapes I was stamping in to indicate the top and bottom circles since they are rather faint. 


Now here is my expert tip for you. The very first time you make this card cut a second large circle.  Then using very good lighting, find those six little dash marks inside the inner circle and mark them with a pencil. Next, take your piercing tool and poke a hole through each pencil mark.  Line this up with the disc you will be using for your card and make a pencil mark through each pierced hole onto the other disc and then continue with the cardmaking instructions. That's it!  Be sure to put your pierced disc in with your Card Front Spinner dies so you will have it to use from now on. 

Products used for my card and tutorial. The stamp set & paper are retired, but all else is available as of this blog post while supplies last.
 

Z3626 - Card Front Spinner Thin Cuts 
Z3547 - Piercing Tool
Z2060 - Thin Foam Tape (highly recommended for this card!)


Z3372 - Adhesive Runner
Z1151 - 3-D Foam Tape 
X254 - White Cards & Envelopes Value Pack

Blooper Photo - help from Kahlua....


Wednesday, June 23, 2021

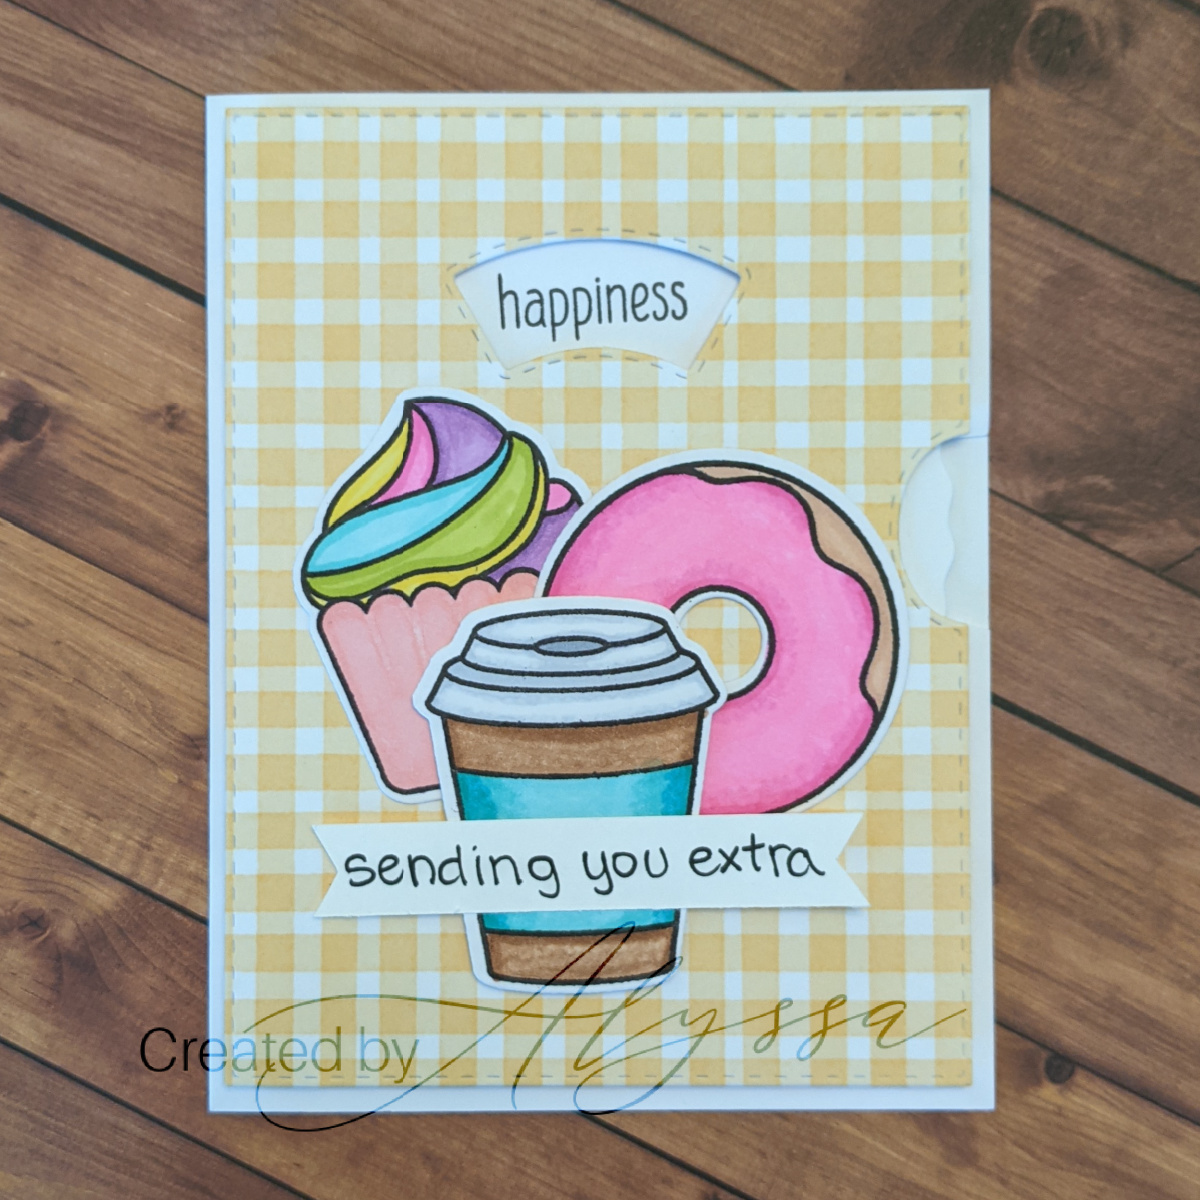
Desserts a la Whirl Spinner Card

I hosted a stamp club meeting in my home on Monday and provided the project. Unfortunately I totally forgot to get any photos. It's been a long time since we've met in person so I guess it's okay to have forgotten some things. 

My daughter used the supplies and created her own spinner card last night. It's so cute!  So I am sharing it.  Everyone's cards were different so it's not a full representation of our meeting's creations. 


The Desserts a la Whirl set and the So Tweet stamp sets were both available for they ladies to use, as well as many choices of patterned cardstock for the front. It was a great way to use up some stash!  

Here are the main products used. The markers were all Spectrum Noir TriBlend markers but I did not keep track of what exact colors were chosen.  I love how bright they are! 


Z3957 - Desserts a la Whirl with Thin Cuts (D2025 without Thin Cuts)
Z3954 - So Tweet with Thin Cuts (B1745 without Thin Cuts)
Z3626 - Card Front Spinner Thin Cuts

(These products are available as of the time this blog is posted while supplies last.)

Tuesday, June 22, 2021

Patriotic Chick

 I'm having so much fun being on the design team for Atlantic Hearts Sketch Challenge.  This is my card for design 426.  I really love this design. I'm sure I am not the only one who immediately saw a double flap card.  And since we are nearing the end of June I thought a little patriotic flare for July was the way to go. Here's what I did. 

Our Blue Belle Shimmer Trim is perfect for grounding my little blue bird. Both left & right flaps are lined with it. 

Tiny little silver heart confetti is glued to her balloon to make it extra special patriotic. And a couple in her flowers, as well.


Here is the Sketch for this weeks challenge.  Add your own card, or at least go see what others have come up with based on the sketch. There's always some awesome art to see. 


Here is what I used for this card. All are available at the time of this post while supplies last. Click on the links for individual product information. 


Z3954 - So Tweet Stamps & Thin Cuts (B1745 without Thin Cuts)
D2018 - Floral Borders & Sentiments
X7269B - Stars & Sparklers Paper Pack


Z2491 - True Blue TriBlend Marker
Z2483 - Light Yellow TriBlend Marker
Z2848 - Sapphire Exclusive Inks Stamp Pad
Z2805 - Black Exclusive Inks Stamp Pad


X5957 - Sapphire Cardstock
Z3800 - Blue Belle Shimmer Trim
Z2900 - Silver Star Confetti


Z3372 - Adhesive Runner 
Z3440 - Dual Tip Permanent Glue Pen 
Z1151 - 3-D Foam Tape


Monday, June 14, 2021

Hillside Cottage Cardmaking Workshop

I am offering a class to make these beautiful Hillside Cottage cards. This class requires the purchase of the Hillside Cottage Cardmaking Kit from Close To My Heart. You will love this kit! It includes all the papers, stamps, thin cuts (dies), embellishments, and card bases & envelopes for 16 beautiful cards. What I especially love about it is how versatile the stamps are – I will be using them over and over again on other projects for sure! 

Thin cuts with stamped images

The images above show the stamps used together to create bouquets of different colors easily! 

Now for the details:
  • Date: Tuesday June 29, 2021
  • Time: 7:00pm Eastern (6:00 Central, 5:00 Mountain, 4:00 Pacific)
  • Venue: Online - Betsy’s Paper Craft Room (Facebook)
  • Cost: Just the purchase of the Hillside Cottage Cardmaking Kit from my website. 

The Hillside Cottage Cardmaking kit is here. Please keep reading for other supplies needed to complete the cards. 

If you are not already a member of Betsy's Paper Craft Room on Facebook I will invite you when you purchase the kit. 

The Facebook Live video will remain available to watch if you are unable to attend in real time. I will also post an instructional video in the Facebook group to go along with the cutting guide prior to the event so you can have everything prepped before hand.

Here is a list of other items you may need. Check your stash for these or similar items or order them with your kit.
  • Flamingo Exclusive Inks™ Stamp Pad (Z6520)
  • New England Ivy Exclusive Inks™ Stamp Pad (Z2835)
  • Paprika Exclusive Inks™ Stamp Pad (Z6515)
  • Black Exclusive Inks™ Stamp Pad (Z2805)
  • Dessert Rose Exclusive Inks™ Stamp Pad (Z6525)
  • Mini Ink Blending Tool (Z3886)
  • 3-D Foam Tape (Z1151)

I used the instructions, stamps & thin cuts from the kit to make another set of cards using a different paper pack, cardstocks and colors of inks for you to see how it changes the cards.  So much you can do with one cardmaking kit and your own stash! Image what will happen when you add your own creativity, too. 
Hillside Cottage cards in back, Happiness Lives Here cards in foreground
(This second set of cards is not part of the class)
 

Wednesday, June 9, 2021

Desserts a la Whirl

It's time for another Atlantic Hearts Sketch Challenge!  I decided to use a set of stamps that I have been wanting to use for a long time but just haven't found the right project for. It seems like this sketch might be just the thing! Here is what I created for the challenge: 

Who can resist a shaker card?

I love our Sapphire Glitter Paper!

Along with my choice of stamps I also wanted to use some more of our Stars & Sparklers paper pack. Looking outside of the obvious, Red White & Blue Hulabaloo of 4th of July theme, I thought this paper on the base of the card was also very happy & fun for a birthday or other occasion of celebration. 

Here is the original sketch for this week, #424: 


Why don't you hop on over to the AHSC blog and see the other beautiful cards inspired by this sketch.  And while you are at it, create and add one of your own - it's fun! 


Here is everything I used to create this adorable card. Click the links for purchase information: 

Z3957 - Desserts a la Whirl with Thin Cuts (D2025 without Thin Cuts)
X7269B - Stars & Stripes Paper Packet 
Z3840 - Sapphire Glitter Paper

Z2497 - Dark Red TriBlend Marker
Z2496 - Pale Pink TriBlend Marker
Z2476 - Fair Skin TriBlend Marker

Z2478 - Earth Brown TriBlend Marker
Z2475 - Brown Grey TriBlend Marker
Z2805 - Black Exclusive Inks Stamp Pad

Z4309 - Circle Shaker Window Thin Cuts (dies)
Z4310 - Circle Shaker Window Foam & Acetate
Z4304 - Silver Loose Sequins

Z2900 - Silver Star Confetti
1385 - White Daisy Cardstock 
X254 - White Cards & Envelopes Valu Pack

Z3440 - Dual-Tip Permanent Glue Pen
Z3372 - Adhesive Runner
Z1151 - 3-D Foam Tape